Clip-In Extensions Before and After: What to Realistically Expect
Clip-in extension before and afters are some of the most popular transformation photos online — and for good reason. A well-installed set of clip-in extensions can take hair from flat and thin to full and voluminous in under 30 minutes, with no stylist appointment, no adhesive, and no commitment. It's the most accessible hair transformation available, and the best part is that you can do it yourself at home and take the extensions out just as quickly when you're done.
The reason I get asked about clip-in before and afters so often is that people have seen transformations online that look almost too good to be true, and they want to know whether the results are genuinely achievable or heavily filtered and styled for the camera. The honest answer is both: some of those photos represent exactly what clip-ins can do for the right hair type, and some are shot under ideal lighting after a blowout and professional styling that makes any hair look great. The realistic clip-in before and after sits somewhere in the middle — genuinely impressive, but heavily influenced by your hair type, the quality of extensions you choose, and how you install them.
In this guide, I'm giving you the real picture on clip-in extension before and afters — what actually changes, which clip-ins create the most impactful results for different hair types, and how to install them at home for results as close to those inspiration photos as possible.
Compare Clip-in Extensions Before And After options
Shop clip-in hair extensions on Amazon to compare sets by weight, length, and color for the most accurate before-and-after results.
- Look for sets with 120g–180g total weight for a full, believable volume transformation
- Human hair clip-ins blend with natural hair more seamlessly than synthetic for photos and real life
- Color-matched clip-ins are the single biggest factor in how natural the after looks
- Multiple weft widths in one set give you more placement flexibility for a customized install
Compare Clip-in Extensions Before And After on Amazon →
As an Amazon Associate, The Swag Hair may earn from qualifying purchases.
Key Takeaways
- Clip-in transformations are most dramatic for thin, fine, or medium-density hair — very thick hair can actually make clip-ins harder to blend seamlessly
- The before-and-after impact comes from density and length together, not just one or the other
- Human hair clip-ins styled alongside your natural hair (blowout, wave, or curl) create the most cohesive afters
- Color is everything — a mismatched shade draws more attention than the before photo ever would
- A full set with proper placement takes 20–30 minutes once you've practiced the install a few times
Quick Access
What I check before recommending Clip-in extensions before and after
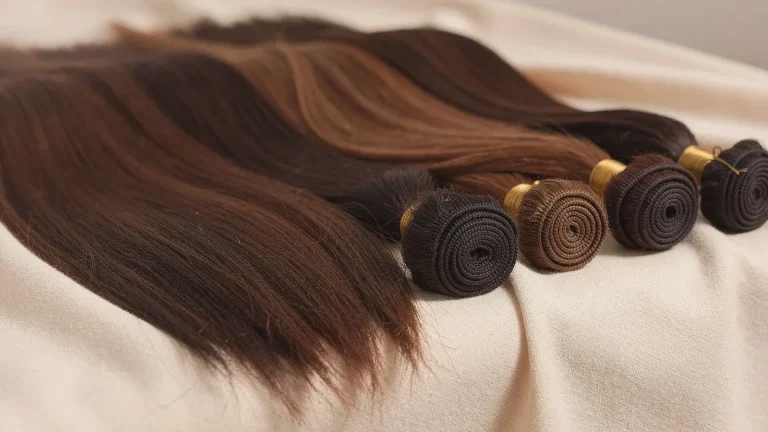
Before I recommend any clip-in set for a before-and-after transformation, I always look at the total weight of the set first. Weight is the most honest indicator of how much hair you're actually getting, and it directly correlates to how dramatic your transformation will be. A 70-gram set looks noticeably thin and sparse when installed — it might add a little length but won't create the full, voluminous after that inspires most people to try clip-ins in the first place. I recommend a minimum of 120 grams for a visible transformation, and 160–180 grams for women with medium or above-medium natural hair density who want a truly dramatic result.
Color matching is the second thing I check, and it's where most first-time buyers make their biggest mistake. The shade you select for your clip-ins needs to match not just the general color family of your natural hair but the specific tone — warm versus cool, highlighted versus solid, dark roots versus even color. Extensions purchased online based on shade names alone rarely match perfectly because monitor calibration and product lighting vary widely. I always recommend ordering a physical swatch card from the brand before buying a full set, or choosing a brand that offers free returns so you can verify the color match in natural light before committing.
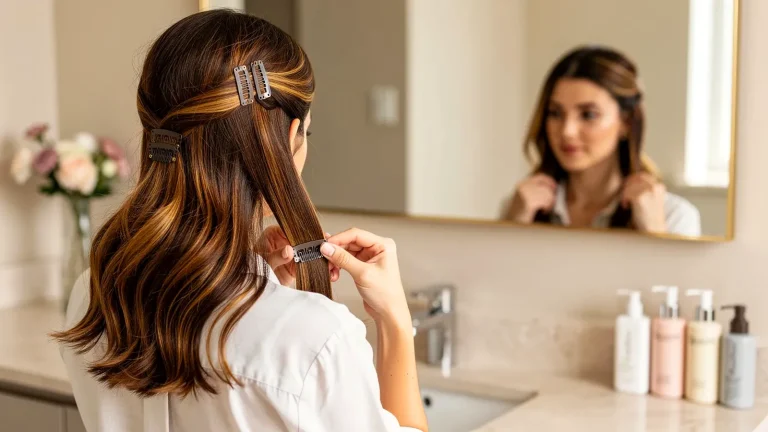
Clip quality is the practical factor that determines whether your installed before-and-after look holds throughout a full day. Cheap clips with weak springs are the difference between a transformation that lasts through dinner and one that starts slipping by mid-afternoon. The best clip-ins use pressure-sensitive clips with silicone gripping pads that create gentle but secure hold without snagging or pulling. I always tug lightly on each weft after installing to verify it's secure before I move on to the next one — if it slides at all, I re-clip before continuing.
Who Clip-in extensions before and after suits best
Clip-in extensions create the most impactful before-and-after results for women with thin, fine, or medium-density natural hair. This is because the contrast between the before — limited volume and often limited length — and the after — full, layered, voluminous hair — is the greatest for these hair types. Women with very thick, dense natural hair can absolutely use clip-ins too, but the transformation is less dramatic because there's already significant volume in the before photo. For thicker hair, clip-ins function more as length enhancers than volume transformers, and the installation requires more careful layering to avoid visible bulk at the weft line.
Clip-ins are also particularly well-suited to women who want the flexibility to choose their transformation day by day. Unlike permanent extension methods, clip-ins let you decide in the morning whether today is a full transformation day or a natural hair day — no removal appointments, no waiting for a salon slot, no commitment to one look for six weeks. This makes them ideal for women whose lifestyle varies significantly, who want to wear different lengths or volumes for different occasions, or who simply want to understand how extensions look and feel on their specific hair before investing in a permanent method.
Check Clip-in Extensions Before And After prices before you buy
Shop clip-in hair extensions on Amazon to compare sets by weight, length, and color for the most accurate before-and-after results.
- Look for sets with 120g–180g total weight for a full, believable volume transformation
- Human hair clip-ins blend with natural hair more seamlessly than synthetic for photos and real life
- Color-matched clip-ins are the single biggest factor in how natural the after looks
- Multiple weft widths in one set give you more placement flexibility for a customized install
Check today’s Amazon options →
As an Amazon Associate, The Swag Hair may earn from qualifying purchases.
Comparison guide
| Choice | Best for | Watch out for |
|---|---|---|
| Clip-In Extensions (Full Set, 160g+) | Maximum volume and length transformation at home with no damage risk and full day-to-day flexibility to wear or not wear them | Not suitable for very active lifestyles — clips shift during intense exercise, swimming, or high-wind situations; remove before those activities |
| Clip-In Extensions (Mini Set for Volume Only) | Women who already have length but want crown volume or hairline fullness — a 2–4 weft partial set targets specific areas without a full install | Partial sets don't create the length transformation shown in dramatic before-and-afters — clarify your goal before purchasing a mini set |
| Halo Extension (One-Piece) | The fastest clip-in alternative for length — one piece installed under the top layer of natural hair in under 5 minutes; great for ponytails and down styles | No volume boost at the root; works best for straight to slightly wavy hair where the wire is easily concealed |
| Tape-In Extensions | The permanent version of the clip-in transformation — same length and volume result but integrated into the hair 24/7 for 6–10 weeks without daily install or removal | Requires professional application and removal; more expensive per wear than clip-ins for occasional use, but more cost-effective for daily transformation wearers |
How to choose the right look
Match your clip-in selection to the specific gap between your before and after goals. If your before hair is fine and flat and you want a dramatically full, long after, prioritize a high-weight set (160g+) in a length that's 4–6 inches longer than your natural hair. That combination — extra density plus extra length — creates the largest visual contrast and the most impactful transformation. If your natural hair is already medium-full and you just want a few inches of added length, a lighter set focused on one or two wide wefts at the back is more appropriate and will look more natural than trying to install a heavy full set over already-thick hair.
Length selection for clip-ins should also account for what your natural hair does when it's extended. Fine hair that's currently shoulder-length will look significantly shorter than 16-inch extensions because the extensions have weight that pulls them down while your natural hair is lighter and sits higher. In practice, 16-inch extensions on shoulder-length fine hair often create a very natural-looking collarbone-length after. If you want a dramatic waist-length transformation, you'd typically need 20–22 inch extensions to account for this layering effect and still achieve that length at the ends.
Buying checklist
| Check | Why it matters |
|---|---|
| Weigh out your clip-in set options by total grams before purchasing | Total weight is the most reliable predictor of how dramatic your volume transformation will be — prioritize this over piece count |
| Order a physical color swatch before committing to a full set | Monitor lighting and product photos make online color matching unreliable — a physical swatch comparison in natural light is the only way to verify |
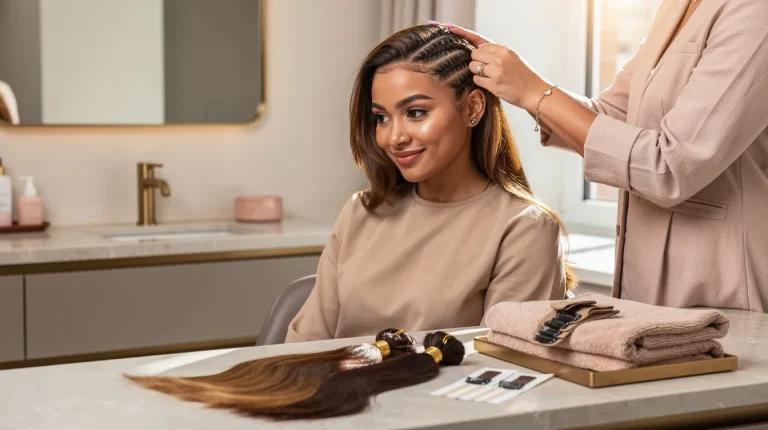
| Section your hair before beginning the install rather than doing it freehand | Sectioning creates a systematic install that covers the whole head evenly and prevents gaps or uneven density in the final result |
| Style extensions and natural hair together after installing for a cohesive blend | Unified styling is what bridges the texture gap between your natural hair and the extensions, creating the seamless after |
| Do a light shake after installing each weft before moving to the next | Clips that aren't secure will slip gradually throughout the day — identifying and reseating them immediately prevents mid-wear adjustments |
Maintenance that keeps the result pretty
Clip-in extensions last significantly longer with consistent post-wear care, and the process is simple enough that it should become a routine after every removal. After taking the clips out, I lay each weft flat, spritz lightly with a detangling spray, and work through any tangles from ends to root with a wide-tooth comb before storing. I then fold each weft gently and store them flat in a satin or microfiber pouch — never coiled or stuffed, which creates kinks and distorts the weft shape over time. This takes about 10 minutes and preserves the quality of the extensions for a year or more, which makes the per-wear cost of quality clip-ins surprisingly low over time.
Between wears, I avoid washing clip-ins more often than necessary — every 15–20 wears is appropriate for most people who use minimal product in their extensions. When washing is needed, I soak the wefts in cool water with a sulfate-free shampoo, rinse thoroughly, apply a moisturizing conditioner, rinse again, and lay them flat to air dry on a clean towel. Never wring or twist clip-in wefts during washing — this damages the weft construction and loosens the clips over time. Air drying flat is the only method I use, and it works perfectly for both human hair and high-quality synthetic clip-ins.
Common mistakes to avoid
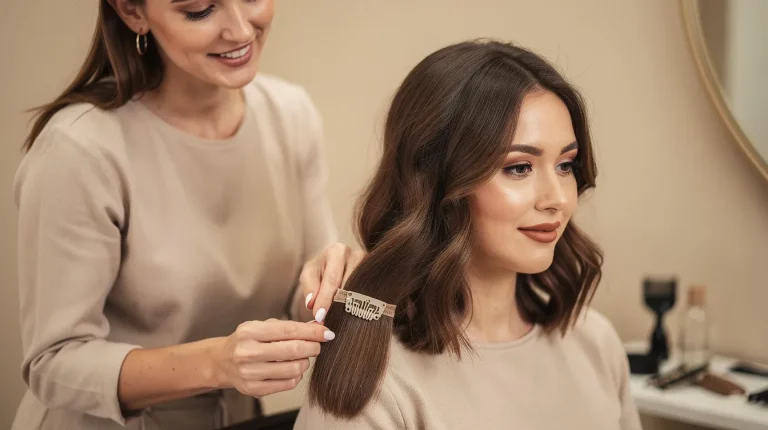
The most common clip-in installation mistake that ruins the before-and-after result is installing all the wefts too high on the head. When wefts are too high — placed above where they should be to create natural fall and volume — the clips are visible when the hair moves and the whole effect looks obviously added. The correct install layers wefts from the nape upward, with each section of natural hair covering the clips and wefts beneath it. The lowest weft should be about 2–3 inches above the nape, and each subsequent weft should be separated from the last by a full inch of natural hair to ensure complete coverage.
The second mistake I see constantly is skipping the blending step. Clip-ins cannot be installed into natural, unstyled hair and expected to look natural — the texture and finish of the extension hair will always look slightly different from unstyled natural hair unless you actively unify them. Before installing, do a quick blowout or set a soft curl on both your natural hair and the extensions. After installing, run a flat iron or curling wand lightly over both together to blend the texture at the point where natural hair meets extension. This five-minute step is the difference between a clip-in transformation that looks professional and one that looks assembled.
When to spend more and when to save
When to spend: on the weight and quality of the hair itself. A 160-gram set of quality human hair clip-ins — typically $80–$180 depending on length — represents far better value than a cheaper synthetic set at $30–$50 when you calculate the per-wear cost. Quality human hair clip-ins styled and cared for correctly last 12–18 months of regular wear. A $40 synthetic set might last 10–15 wears before the texture degrades and it starts to look obviously synthetic. At 20 wears annually, the human hair set costs significantly less per wear and looks dramatically better throughout.
When to save: on tools and accessories. You don't need an expensive tail comb for sectioning — any fine-tooth comb works. You don't need extension-specific shampoos that cost double what your regular products do — your current sulfate-free shampoo works fine. The one accessory worth investing in is a good quality heat protectant spray, which protects both your natural hair and human hair extensions from the heat styling that's part of the unified blending step. Everything else in the clip-in routine can be done with what you already own.
Final styling advice
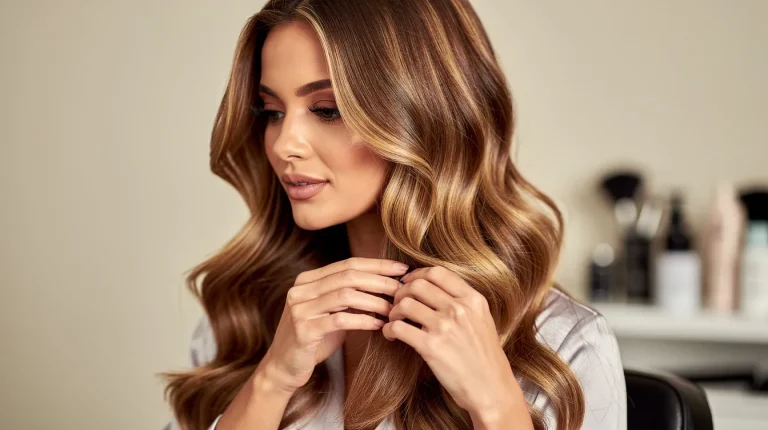
The loose blowout and beach wave combination is the most versatile and most photographed clip-in style for a reason — it's the look that generates the most dramatic before-and-after contrast and photographs best in natural light. After installing your clip-ins over a blowout, wrap 1.5–2 inch sections around a large curling barrel, alternate the direction of each curl, shake everything out with your fingers, and finish with a light flexible hold spray. The result is the kind of voluminous, lived-in wave that makes people ask what your secret is, and the before-and-after photo opportunity practically takes itself.
For everyday clip-in looks that are slightly less styled, a sleek straight blowout with the extensions installed is both elegant and practical — it shows the length transformation most clearly, works for professional settings, and requires no additional styling beyond the initial blowout. I use a light shine serum on both the natural hair and extensions after installing to unify the sheen and make everything look cohesive from root to tip. This look holds well throughout a full day and still looks polished hours later, which makes it my go-to when I want the transformation but not the styling time.
Before you reach the FAQs, compare current Clip-in extensions before and after options, reviews and prices side by side.
View Clip-in Extensions Before And After on Amazon →
As an Amazon Associate, The Swag Hair may earn from qualifying purchases.
FAQ
How long does a clip-in extension before-and-after transformation take?
A full clip-in install takes 20–35 minutes for most people once they've practiced the placement a few times. The first install typically takes longer because you're learning which weft goes where and how to layer sections — by the third or fourth time, it becomes a quick, automatic routine.
Can clip-in extensions damage your natural hair?
Clip-ins are one of the lowest-damage extension methods available because they attach without adhesive, heat, or braiding. The only real damage risk is installing clips over the same spot on the scalp repeatedly without varying placement, which can cause localized tension. Varying your sectioning each wear prevents this easily.
How many wefts should a clip-in set include?
A full clip-in set typically includes 7–10 wefts in varying widths — one wide weft for the back, medium wefts for the sides, and narrow wefts for the top and face-framing sections. Sets with fewer than 6 wefts are usually partial sets designed for spot volume rather than a full transformation.
Can I sleep in clip-in extensions?
I strongly recommend against it. Sleeping in clip-ins puts prolonged pressure and friction on both the clips and the weft hair, causing significantly faster deterioration. The investment in quality clip-ins is preserved by removing them each night — plus your natural hair benefits from sleeping without any tension on it.
What weight clip-in set creates the most dramatic before-and-after?
For fine to medium hair, a 160–180 gram set creates the most noticeable transformation. For medium to thick natural hair, you may need to go up to 200 grams to achieve a dramatic volume difference rather than just length. Always calculate based on total grams rather than number of pieces.
Final verdict
Clip-in extension before-and-after results are genuinely achievable at home — the photos you see online are not as filtered or as staged as they might seem when you're looking at them with fine, flat hair in the mirror. The factors that make the difference are weight (120g minimum, 160g+ for drama), color match (swatch before you buy), and installation technique (section, layer, and style together). Get those three things right and you'll have a transformation that turns your before into exactly the kind of after you've been saving to your inspiration board.