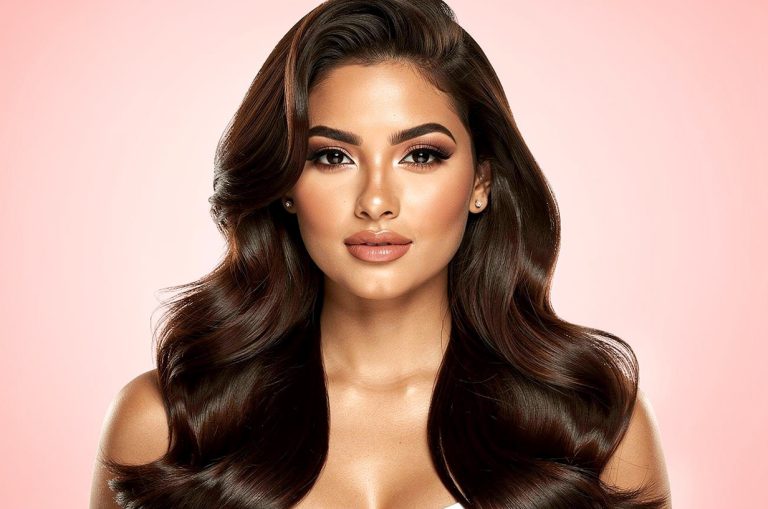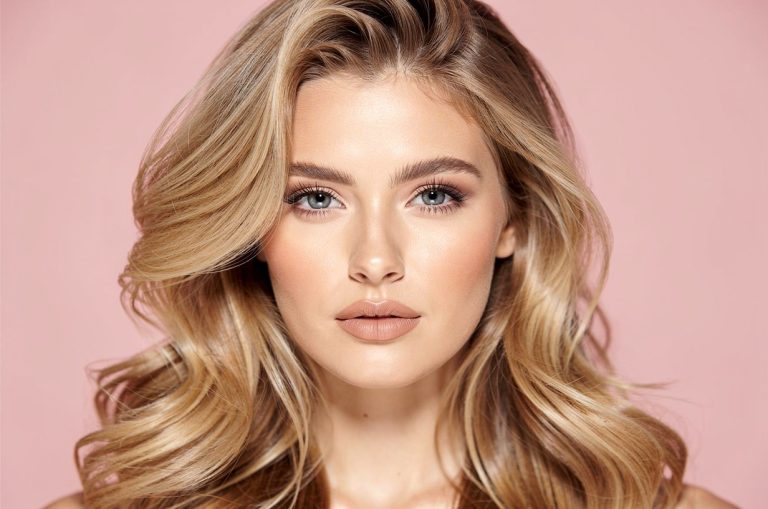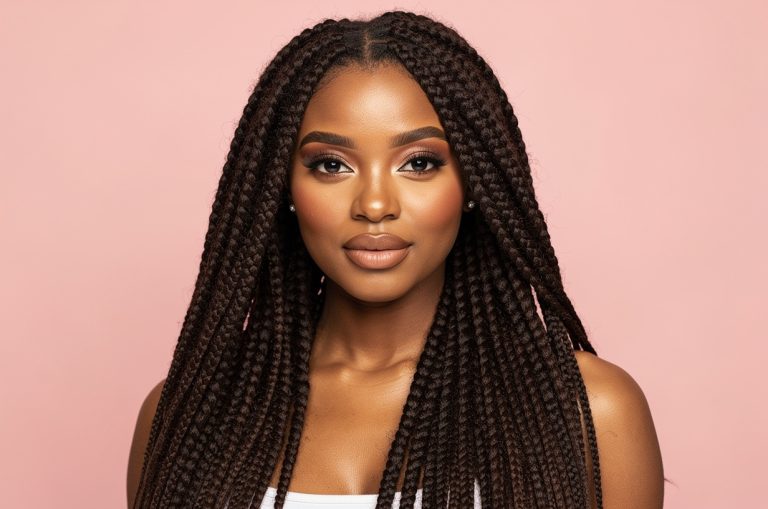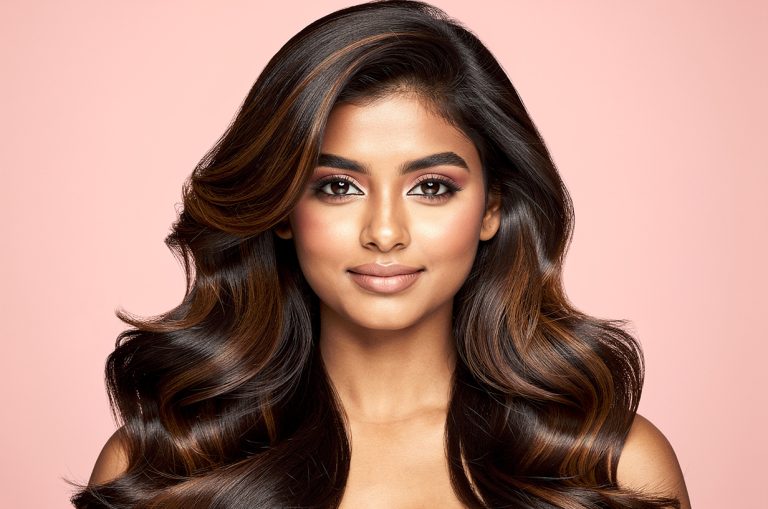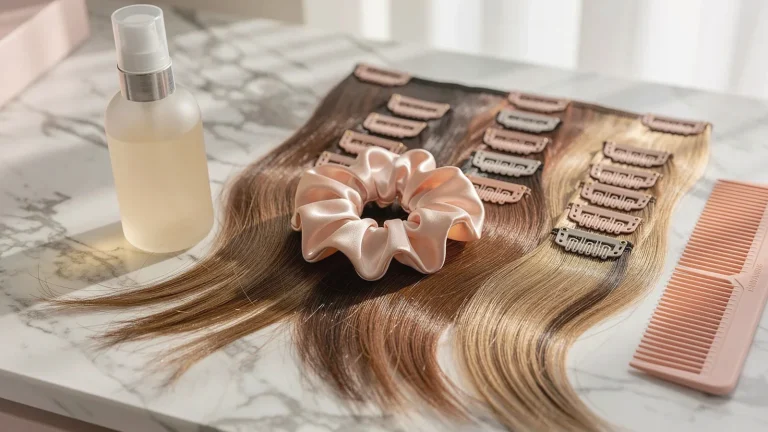
Tape-In Extensions Before and After: The Transformation Fine Hair Has Been Waiting For
Tape-in extension before and after photos are consistently some of the most impressive transformation content in the hair world — not because of raw drama like a short-to-long change, but because of how impossibly seamless they look. Unlike braided installs or clip-ins, tape-in extensions lie completely flat against the scalp, sandwiched between thin sections of natural hair. The result is an after that looks like your hair simply got longer and thicker overnight, with no visible attachment points, no clips, no wefts — just hair.
This is why tape-ins have become the preferred method for women with fine, thin, or straight hair who want the most natural-looking extension experience possible. The before might be sparse, flat hair with little density and no movement; the after is the full, healthy-looking hair they've always wanted — and nobody who sees it can tell how it happened. That's the tape-in promise, and when the install is done correctly, it delivers on that promise better than any other method.
In this guide, I'm covering everything that goes into a realistic tape-in extensions before and after: which hair types benefit most, what to expect during installation and maintenance, how to care for them to preserve the transformation, and what separates the jaw-dropping before-and-afters you see online from disappointing results that leave you wondering what went wrong.
Compare Tape-in Extensions Before And After options
Shop tape-in hair extensions on Amazon to compare lengths, weights, and color options before your professional installation appointment.
- Look for double-drawn tape-in extensions for the fullest, most even distribution from root to tip
- Remy human hair tape-ins lie flattest and blend most naturally against real hair
- Color options are wide — order swatches before purchasing to verify the match in natural light
- Standard sets come in 20 pieces; most installs use 30–60 pieces depending on your natural hair's density

Compare Tape-in Extensions Before And After on Amazon →
As an Amazon Associate, The Swag Hair may earn from qualifying purchases.
Key Takeaways
- Tape-ins are the flattest, most invisible attachment method available — the wefts are truly undetectable when installed correctly
- Fine and thin hair types see the most dramatic before-and-after results because the density contrast is the greatest
- Tape-in before-and-afters require professional installation and removal — DIY tape-in attempts almost always end in bond failure or hair damage
- The tape bond is weakened by oil-based products, so product habits change significantly after installation
- Maintenance appointments every 6–10 weeks are non-negotiable for tape-ins — the bonds grow out and need repositioning
Quick Access
What I check before recommending Tape-in extensions before and after
The first thing I evaluate for anyone considering a tape-in before-and-after transformation is their natural hair type. Tape-ins work on almost every hair texture, but they deliver the most dramatic visual transformation on fine, straight to slightly wavy hair where the flat adhesive weft can be completely concealed under a thin section of natural hair. The thinner your natural hair is, the more pieces you may need to achieve the density transformation you're looking for — and that's a cost and comfort variable worth knowing upfront. A woman with extremely fine hair might need 60+ pieces for a truly dramatic density change; a woman with medium density might achieve a beautiful transformation with 30–40 pieces.
Hair health is the second critical assessment for tape-ins. The adhesive tabs grip by sandwiching natural hair between two tape wefts, and that grip depends on the hair being clean, healthy, and free of product buildup. Hair that is significantly damaged, excessively porous, or chemically processed may not hold the tape bonds reliably — they can slip or release prematurely, which is both frustrating and potentially damaging when it happens near the scalp. Before a tape-in install, I always recommend at least one protein treatment and a clarifying wash to strengthen the hair and remove any residue that would compromise the bond.
I also look at lifestyle compatibility before recommending tape-ins to anyone. The tape bond is specifically weakened by oils — both natural scalp oils produced in excess and product oils from leave-in treatments, serums, and conditioning sprays applied near the bonds. Women who routinely use oil-based styling products, who have an oily scalp type, or who are very active and sweat heavily at the scalp may find that tape bonds slip faster than the standard 6–10 week timeline. Tape-ins suit women who can adjust their product routine to avoid oils at the scalp and who are comfortable with the maintenance schedule.
Who Tape-in extensions before and after suits best
Tape-in extensions are specifically excellent for women with fine, thin, or straight hair who have never found an extension method that looks natural enough to justify the investment. This hair type struggles with most extension methods — clip-ins show bulk; sew-ins require braiding that puts too much stress on fine strands; fusion extensions can damage already-fragile hair. Tape-ins are the one method designed from the ground up to be invisible and low-tension, which makes them the right tool for this hair type in a way that nothing else is. The before-and-after results for fine hair women are consistently the most dramatic and the most natural-looking in the whole extension category.
Tape-ins also suit women who want a daily-life transformation rather than an occasional-wear upgrade. Unlike clip-ins that go in for events and come out every night, tape-ins are there 24/7 — in the shower, at the gym, on vacation — and they don't need to be thought about, installed, or managed daily. For women who want to wake up and already have the hair they want without doing anything, tape-ins are fundamentally different from clip-ins or halos. The tradeoff is the maintenance appointment schedule, but for women who want a continuous transformation rather than a part-time one, that tradeoff is very much worth it.
Check Tape-in Extensions Before And After prices before you buy
Shop tape-in hair extensions on Amazon to compare lengths, weights, and color options before your professional installation appointment.
- Look for double-drawn tape-in extensions for the fullest, most even distribution from root to tip
- Remy human hair tape-ins lie flattest and blend most naturally against real hair
- Color options are wide — order swatches before purchasing to verify the match in natural light
- Standard sets come in 20 pieces; most installs use 30–60 pieces depending on your natural hair's density
Check today’s Amazon options →
As an Amazon Associate, The Swag Hair may earn from qualifying purchases.
Comparison guide
| Choice | Best for | Watch out for |
|---|---|---|
| Tape-In Extensions | The most seamless and invisible before-and-after for fine to medium straight or wavy hair — flat adhesive wefts that are completely undetectable in ponytails, updos, and down styles | Bond strength is oil-sensitive; requires sulfate-free, silicone-free products at the scalp and professional removal every 6–10 weeks |
| Micro-Link (Bead) Extensions | A permanent method that's safe for color-treated or more delicate hair — small metal rings clamp single strands of extension to natural hair without adhesive or heat | Can cause localized scalp tenderness and requires monthly maintenance tightening as natural hair grows; removal is time-intensive |
| Fusion (Keratin Bond) Extensions | The longest-lasting permanent method (3–6 months) with near-invisible bonds on straight to wavy hair — individual keratin bonds fuse to natural strands | Application uses heat bonding which can damage fine or already-compromised hair; removal requires a bond-dissolving solution and significant stylist time |
| Sew-In Weft Extensions | Maximum volume and length on medium to thick natural hair, particularly for Black hair textures — wefts sewn onto braided cornrows for a secure, long-lasting install | Not the best method for fine or thin hair because the braided base requires sufficient natural hair density and creates noticeable bulk under fine hair |
How to choose the right look
If you're deciding between tape-ins and another method for your before-and-after transformation, the main question is how you want to live with the result. Tape-ins work best for women who want a continuous, maintenance-schedule-based transformation they don't have to think about daily and who are willing to adapt their product routine to protect the bonds. If you want to wear extensions only sometimes and maintain complete control over when and whether the transformation is visible, clip-ins are a better match. If you want the most natural result possible with the lowest profile adhesive method, tape-ins are the clear choice.
For the tape-in decision specifically, piece count and length are the two main variables to discuss with your stylist at a consultation. Piece count drives the density transformation — more pieces means a fuller after, but also more weight and higher cost. Length drives the visual impact of the transformation in terms of how much longer the after looks versus the before. Most stylists recommend starting conservatively (30–40 pieces) and adding more at the first maintenance appointment once you've assessed how the bonds hold and how the weight feels, rather than going maximal at the first install and having to remove pieces if the weight is uncomfortable.
Buying checklist
| Check | Why it matters |
|---|---|
| Book a stylist consultation specifically for tape-in assessment before committing | Not all stylists are skilled at tape-ins; finding one who specializes in tape-in installation and removal is critical for a good before-and-after result |
| Do a clarifying wash and protein treatment 1 week before your install appointment | Clean, strengthened hair holds tape bonds significantly better and longer than hair with product buildup or damage |
| Switch your product routine to sulfate-free and silicone-free before purchasing products | Starting this switch before installation makes the adjustment easier and protects your bonds from the day your install goes in |
| Decide on your piece count and length at the consultation, not alone online | Your stylist can assess your density and recommend the right number of pieces — the difference between 30 and 60 pieces is dramatic in both cost and result |
| Book your first maintenance appointment at the time of installation | Tape bonds grow out at the rate of your natural hair — 6 weeks out from install is the optimal window and those slots fill quickly |
Maintenance that keeps the result pretty
The product routine change is the biggest day-to-day adjustment that comes with a tape-in transformation, and understanding it ahead of time prevents most common bond-failure problems. Oils, silicones, and heavy conditioning agents weaken the adhesive bond when they come into contact with it — which means any product you apply at the scalp or near the bond area needs to be oil-free and silicone-free. This doesn't mean avoiding conditioner entirely; it means applying conditioner from mid-shaft to ends only, keeping it away from the bonded section. The mid-length and ends of your hair and extensions can still be fully moisturized and conditioned.
Washing technique changes significantly with tape-ins as well. Rather than scrubbing the scalp in circular motions — which creates friction on the bonds and can cause slippage — I smooth shampoo gently downward from the roots in a linear motion and rinse thoroughly. I then apply conditioner only from mid-shaft to ends, leaving it on for 2–3 minutes, and rinse with cool water. After washing, I gently squeeze (never rub) excess water from the extensions and let them air dry as much as possible before using a low-heat blow dryer. This washing method preserves the tape adhesive significantly longer than standard washing habits.
Common mistakes to avoid
The biggest mistake I see with tape-in transformations is DIY installation attempts. Tape-in extensions look deceptively simple — it's just tape, right? But the precision required to sandwich each weft between perfectly thin, even sections of natural hair at exactly the right distance from the scalp, in the right pattern across the entire head, is a genuine technical skill that takes training. DIY tape-in installs almost always result in visible bonds, uneven density, premature bond failure, or hair damage from incorrect removal. The installation cost is genuinely worth paying for this method — it's the difference between the before-and-after you saw on Instagram and something you're trying to hide under a ponytail.
The second mistake is using the wrong products after installation and then being surprised when the bonds slip. I've heard women describe their tape-ins falling out after two weeks and blame the extensions or the stylist, when the real culprit was a daily leave-in spray with silicone in the ingredient list applied directly to the bond area. Checking every product label before applying it near your bonds is non-negotiable. It takes one minute per product and could be the difference between a transformation that holds for 10 weeks and one that requires emergency removal and reinstallation at week three.
When to spend more and when to save
When to spend: on the installation itself and on choosing Remy human hair extensions rather than synthetic or low-grade human hair. Remy human hair tape-ins lie flat and natural against real hair, accept color and heat exactly like your own hair, and can be reused for multiple install cycles with proper care — significantly lowering the long-term cost compared to replacing extensions at every appointment. A quality set of 20 Remy tape-in pieces typically runs $60–$150 depending on length, and with proper care can be reinstalled 2–3 times before the tape tabs need replacing.
When to save: on the maintenance products, which don't need to be expensive to be effective. A drugstore sulfate-free shampoo and a silicone-free conditioner work just as well as professional-line products for daily tape-in care. The money you save on products is better redirected toward your maintenance appointments, which are genuinely the most important ongoing investment in preserving the quality of your before-and-after result over the full wear period.
Final styling advice
The sleek blowout-and-flat-iron is the tape-in transformation look that appears in the most stunning before-and-after photos — and for good reason. Nothing shows off the flat, invisible wefts and the dramatic density increase like smooth, straight hair with high shine. After a tape-in install, a blowout with a round brush and a quick pass of a flat iron creates the kind of thick, glossy, magazine-worthy straight hair that would be unachievable on the before photo. This look also highlights the length transformation most clearly, which is often the most emotionally satisfying part of the result.
For a softer everyday look, loose beach waves styled with a large-barrel curling iron or wand create effortless, voluminous texture that moves beautifully with tape-in density. The extensions add enough weight that waves hold longer and look more uniform than they would on fine natural hair alone. I finish with a light flexible-hold spray rather than a heavy hairspray, which keeps the look moveable and touchable — two things fine hair women often haven't been able to say about their styled hair before extensions. It's that lived-in volume that makes tape-in transformations feel like a before-and-after that lasts weeks, not just for photos.
Before you reach the FAQs, compare current Tape-in extensions before and after options, reviews and prices side by side.
View Tape-in Extensions Before And After on Amazon →
As an Amazon Associate, The Swag Hair may earn from qualifying purchases.
FAQ
How long do tape-in extensions last before they need maintenance?
Most tape-in extensions are repositioned every 6–10 weeks as the bonds grow out from the scalp. The extension hair itself can last 6–12 months with proper care and can be reused across multiple installation cycles — it's the tape tabs that need replacing at each maintenance appointment, not the hair.
Can I color tape-in extensions to match my hair?
Yes, but only after installation and only on the extension hair itself, not at the bond area. Bleach and color can weaken tape adhesive if applied at the bond line. Your stylist can apply a toner or semi-permanent color to the extension hair to blend a gradient or adjust warmth — full permanent coloring of tape-ins should be done carefully and ideally by the same stylist who installed them.
Do tape-in extensions damage fine hair?
When installed and removed correctly by a skilled stylist using proper adhesive-dissolving solution, tape-ins are very low risk for fine hair damage. The most common damage occurs during improper removal — pulling or peeling the tape without the correct dissolving product tears the hair at the bond site. Never try to remove tape-in extensions yourself.
Can I swim with tape-in extensions?
Yes, but with precautions: braid the extensions before swimming, wet them with fresh water first to reduce chlorine or saltwater absorption, and wash and condition immediately after. Prolonged exposure to chlorine or salt weakens the tape adhesive over time, so occasional swimming is fine but daily swimming will shorten the bond life significantly.
How do I know when my tape-in bonds need to be moved up?
The clearest sign is visible bond displacement — when you can see the tape tabs sitting away from your scalp rather than against it, or when you feel the bonds moving freely when you touch them. Most women can feel when their bonds are due for repositioning around the 7–8 week mark even before it becomes visible. Don't wait until bonds slip completely — that can cause tangling and matting at the bond site.
Final verdict
Tape-in extension before and after results are genuinely among the most striking transformations available, specifically because the method is designed to be invisible — and invisible extensions look like your own hair grew, which is the most flattering possible outcome. For fine and thin hair types especially, a tape-in transformation can be life-changing in the most literal sense: the hair in the mirror actually matches the hair you've always wanted. The investment is real, the product routine adjustment is real, and the maintenance commitment is real — but the result is one of the only extension methods where the after routinely looks better than even the most optimistic expectation going in.