Hair Extension Before and After: The Transformations That Actually Deliver
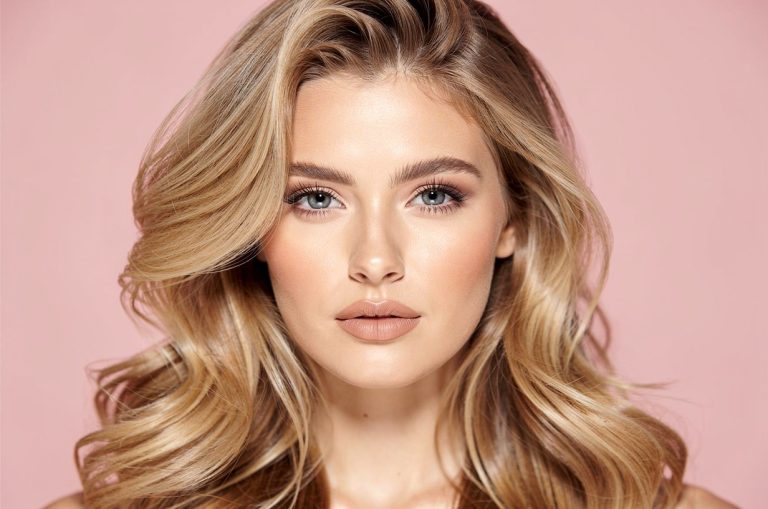
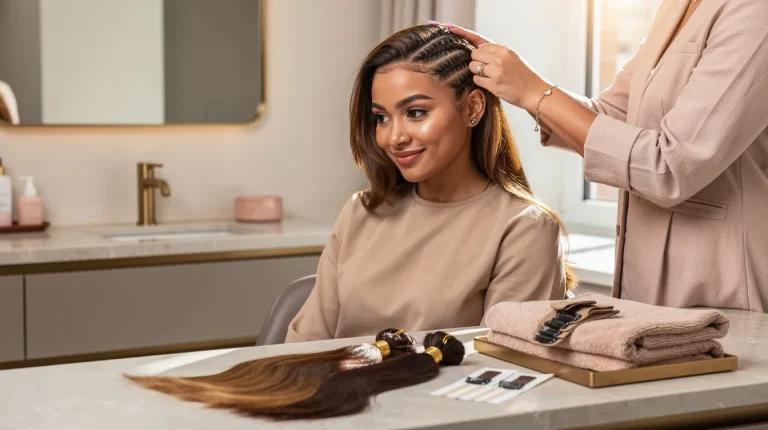
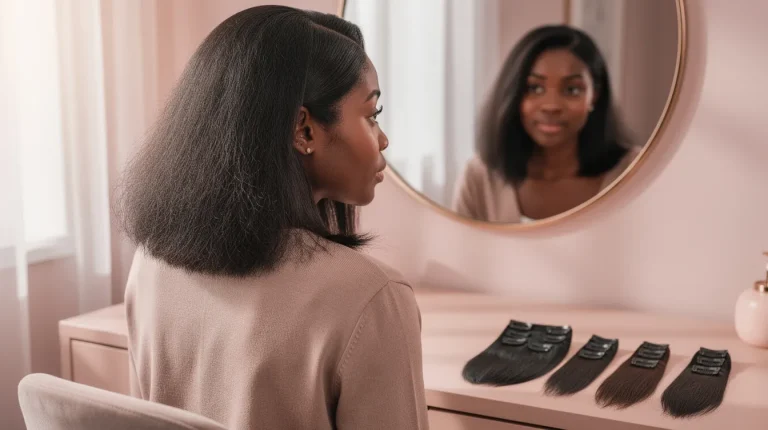
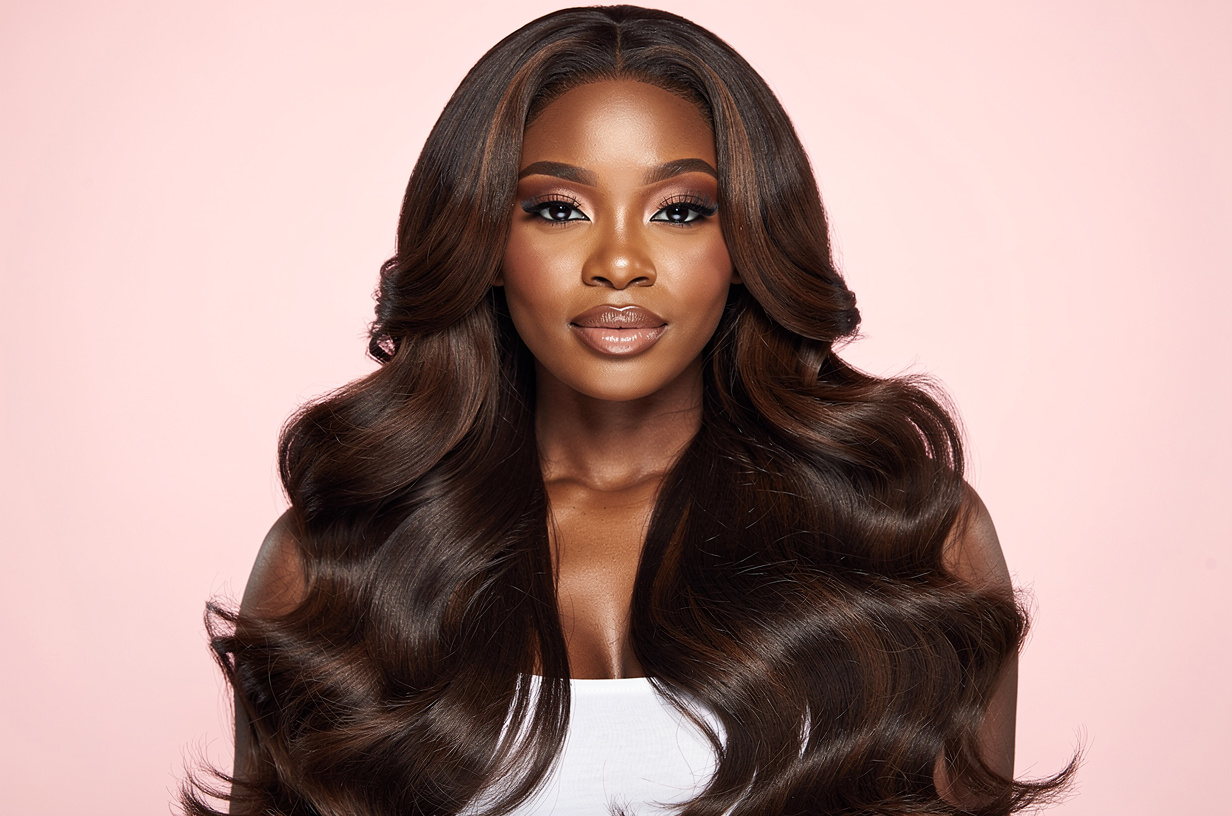
Hair extension before and after photos have a way of stopping a scroll completely — and it's not hard to understand why. The transformation from thin, short, or flat hair to full, long, and voluminous is one of the most visually striking changes a person can make, and when extensions are done correctly, the before-and-after gap is genuinely dramatic. I've sat in more than a few salon chairs watching the mirror go from 'fine' to 'wow' in the span of a few hours, and every time it still surprises me how significant the change is.
What social media doesn't always show alongside those stunning transformation photos is the decision-making that goes into them — the extension method, the length and density chosen, the prep work, and the realistic expectations about what different types of transformations actually feel like to wear and maintain. A sew-in before and after looks very different from a tape-in before and after, and both look different from a clip-in transformation. The method determines everything from how natural the result looks to how long it lasts to how your natural hair fares underneath.
In this guide, I'm breaking down the hair extension transformations that actually deliver the results shown in the best before-and-after photos — what makes them work, which methods create the most impactful changes for different hair types, and how to approach your own transformation so the after looks even better than what you originally imagined.
Compare Hair Extensions Before And After Transformation options
Shop hair extensions on Amazon to find the type that matches your transformation goal — length, volume, or both.
- Sew-in wefts create the most seamless before-and-after length and volume transformation
- Tape-ins give the flattest, most natural-looking result for fine or thin hair
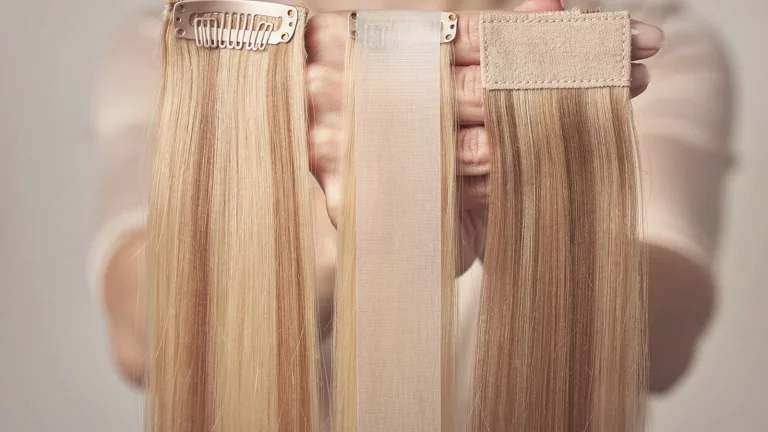
- Clip-ins let you test a transformation before committing to a longer-term method
- Human hair extensions photograph and style the same way as real hair for authentic results
Compare Hair Extensions Before And After Transformation on Amazon →
As an Amazon Associate, The Swag Hair may earn from qualifying purchases.
Key Takeaways
- The most dramatic before-and-after results come from sew-in wefts and tape-ins, which integrate into the hair rather than sitting on top of it
- Volume and density transformations are often more impactful in person than length transformations
- Matching extension color to your natural hair (or having them professionally blended) is what separates a natural after from an obvious one
- Tape-in extensions are the go-to for thin or fine hair because they add density without visible bulk
- Preparing your natural hair before the transformation appointment significantly affects how good the 'after' looks and how long it lasts
Quick Access
What I check before recommending Hair extensions before and after transformation
Before I advise anyone on a hair extension transformation, I always ask what specifically about their hair they want to change. Length, volume, and color all call for different extension methods, and mixing up the approach leads to disappointing afters. Someone who wants dramatic length from chin to collarbone is a different candidate than someone whose hair is already long but thin and flat and wants the kind of density that makes hair look alive and full. The first person might be best served by a sew-in or halo extension; the second person's transformation is actually best achieved with tape-ins or micro-link extensions that add density without bulk.
Color blending is the technical detail that separates transformations that look natural from ones that look added on, and it's underestimated by almost everyone shopping for extensions without professional guidance. Hair extensions come in a fixed color, and unless that color matches your natural hair perfectly across its full length — including any highlights, gradients, or tonal variations — the extension will look like a different piece of hair at the point where it meets your real hair. The best transformations either match the color with a very close swatch test, or they involve a professional colorist tinting the extensions to custom-match your natural hair's specific shade.
I also always check the texture match for any extension transformation because mismatched texture shows up in photos just as much as mismatched color. Your natural hair has a specific level of wave, curl, or texture — and that texture needs to be consistent throughout the extended hair for the after to look cohesive rather than assembled. The closer your natural hair's texture to straight, the more forgiving extensions are because the join point smooths out easily. The further your natural hair is from straight, the more precision is required in texture matching.
Who Hair extensions before and after transformation suits best
Hair extension transformations are suited to almost anyone who wants to make a significant visual change — but they're especially meaningful for women whose natural hair has a persistent limitation that styling can't fully address. Fine, thin hair that has never had real volume no matter how many products or techniques are applied is the classic transformation candidate for tape-ins or fusion extensions, which add density at the root level and create a fullness that genuinely didn't exist before. Women who have grown their hair for years but plateau at a certain length due to breakage or health are equally strong transformation candidates, because extensions can bridge that gap in a single appointment.
That said, hair extension transformations work best for women who go in with realistic expectations about what they're achieving and what they're committing to. An extension transformation is not a one-time fix that maintains itself — it's the beginning of a care routine and a maintenance schedule that's required to keep the after looking like the after. Women who understand that the transformation includes ongoing upkeep, and who are genuinely excited about that routine rather than looking to avoid it, get the most sustained and beautiful results.
Check Hair Extensions Before And After Transformation prices before you buy
Shop hair extensions on Amazon to find the type that matches your transformation goal — length, volume, or both.
- Sew-in wefts create the most seamless before-and-after length and volume transformation
- Tape-ins give the flattest, most natural-looking result for fine or thin hair
- Clip-ins let you test a transformation before committing to a longer-term method
- Human hair extensions photograph and style the same way as real hair for authentic results
Check today’s Amazon options →
As an Amazon Associate, The Swag Hair may earn from qualifying purchases.
Comparison guide
| Choice | Best for | Watch out for |
|---|---|---|
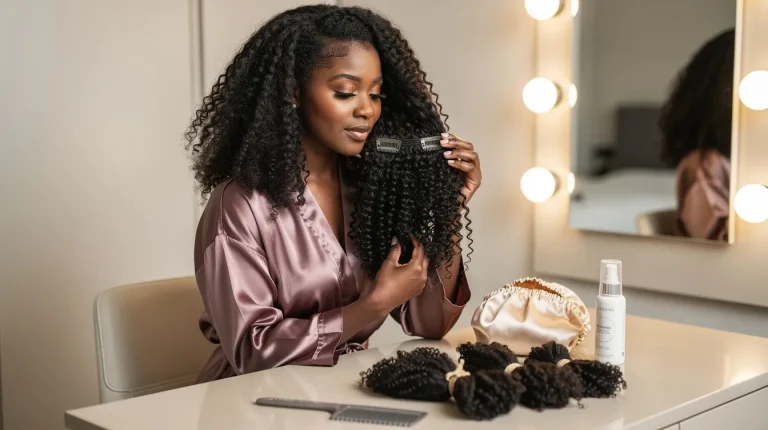
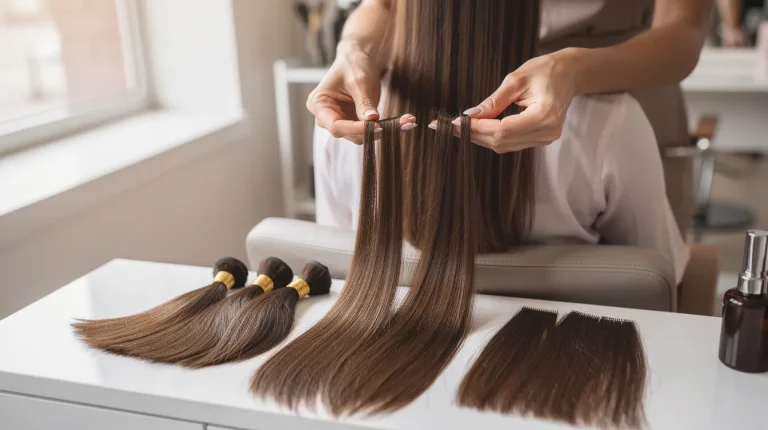
| Sew-In Weft Transformation | The most dramatic length and volume change, especially for Black hair textures — wefts are sewn onto braided cornrows for a seamless, fully integrated look that photographs as completely natural | Requires a skilled stylist and regular maintenance appointments every 6–8 weeks; improper installation creates hairline tension that can damage edges over time |
| Tape-In Extension Transformation | Fine or thin straight/wavy hair seeking maximum density with minimum bulk — tape wefts lie flat against the scalp and are virtually undetectable even with hair pulled up in a ponytail | Tape adhesive weakens with oil-based products; requires sulfate-free and alcohol-free products near the wefts to prevent bond failure |
| Clip-In Transformation | A dramatic before-and-after look for special occasions without any long-term commitment — the full install can be done at home in 30 minutes and removed just as quickly | Not suited for daily wear in most hair types; clips can be felt and seen if the hair is very thin or if wefts are not blended and layered correctly |
| Halo Extension Transformation | Volume and length in one piece with virtually no damage risk — the wire sits invisibly at the crown and the weft hangs underneath your natural hair for an instant transformation | Works best with straight to wavy hair that falls easily over the wire; curly or coily natural hair may not cover the wire as cleanly without some styling effort |
How to choose the right look
Match your transformation goal to the method that's designed for it. If you want a transformation that lasts weeks and looks natural in ponytails, updos, and pulled-back styles as well as down, a sew-in or tape-in is the right tool — clip-ins and halos are not going to give you that kind of versatility in the long run. If you want to test a length or volume transformation before committing to a professional install, a clip-in trial is exactly the right approach — you can see how the length feels, whether the density looks natural on your specific hair, and whether the maintenance reality matches your lifestyle before spending $300+ on a permanent-ish install.
Budget also plays a real role in the decision, and it's worth being honest about. Tape-ins and fusion extensions require professional removal and reinstallation every 6–10 weeks, which adds up to a significant annual cost. Sew-ins are similar. Clip-ins have a higher upfront cost for quality but no ongoing appointment cost beyond the initial purchase. If you want the most dramatic transformation with the lowest ongoing cost, clip-ins are the answer — if you want the most natural and seamless long-term result regardless of cost, professional wefts are the answer.
Buying checklist
| Check | Why it matters |
|---|---|
| Be specific about your transformation goal before your consultation | Length, volume, and color transformations require different methods — the more specific you are, the better your stylist can guide you to the right approach |
| Do a color swatch test before committing to a specific extension product or shade | Extension colors look different on the hanger than against your natural hair — a swatch test prevents the most common before-and-after disappointment |
| Schedule a blending haircut at the same appointment as your installation | A blending cut removes the visible length boundary and creates the seamless flow that makes transformation photos so stunning |
| Prepare your natural hair with a deep conditioning treatment in the week before | Healthy, moisturized natural hair accepts extensions better, blends more seamlessly, and recovers better after the install is removed |
| Take your own before photo in natural light before the appointment | You'll want a genuine before for your own records — salon lighting and post-install excitement often mean the before is forgotten or underdocumented |
Maintenance that keeps the result pretty
Maintaining the 'after' is really what determines how long your transformation looks as good as it did on day one. The biggest mistake post-transformation is treating extensions like natural hair without accounting for their specific needs. Tape-ins need sulfate-free shampoo applied root-to-mid without rubbing near the bonds. Sew-ins need regular moisturizing of the leave-out hair and scalp. All extension types need heat protectant before any hot tool use. The specific maintenance steps vary by method, but the common thread is that extensions require more deliberate care than natural hair — not more time necessarily, but more intentionality.
Photography and longevity of the transformation also depend heavily on how the hair is stored and treated overnight. Sleeping on a satin pillowcase or covering the extensions with a satin bonnet reduces the friction that causes matting, tangling, and frizz at the weft lines. Loose braids or a gentle pineapple for longer styles prevents tangling overnight without putting tension on the extension bonds. These small nightly habits make the difference between a transformation that looks amazing at week one and week six, and one that starts looking worn and tired by week three.
Common mistakes to avoid
The most common mistake in planning a hair extension transformation is basing the expectation entirely on someone else's before-and-after photos without accounting for the differences in hair type, texture, density, and color. A transformation that looks stunning on someone with dark brown, medium-density, slightly wavy hair will look very different applied to someone with very light blonde, fine, pin-straight hair — the extension selection, attachment method, and color matching are all different. Use inspiration photos to communicate the vibe and goal to your stylist, but rely on your stylist's expertise to translate that vision to your specific hair.
The second major mistake is skipping the consultation and going straight to ordering extensions online based on length alone. Length is the least important variable in a hair extension transformation — color match, texture match, and density are what make a transformation look natural or obvious. Women who order extensions without having their color and texture professionally assessed, or without doing an in-person swatch test, very often end up with extensions that don't match well enough to use. That's a frustrating and expensive mistake that a 15-minute consultation would have prevented entirely.
When to spend more and when to save
When to spend: on the installation and the initial color match consultation. A skilled stylist who knows how to blend extensions, layer the lengths, and cut a seamless finishing layer is the single biggest factor in how good your transformation looks and how long it holds. A professional color consultation before purchasing extensions, or having your stylist select the shade for you, is worth every penny because it eliminates the most common before-and-after disappointment: extensions that looked right in the product photo but look obviously different against your real hair.
When to save: on maintenance products. You don't need extension-specific shampoos and conditioners that cost three times as much as regular products — a good sulfate-free shampoo and a moisturizing conditioner already in your routine work perfectly for most extension types. You also don't need an expensive heat styling tool upgrade just because you got extensions. The tools you already have, used with a heat protectant, are sufficient. Spend your maintenance budget on the salon appointments themselves, where the professional care actually makes a difference.
Final styling advice
The versatility that comes with a hair extension transformation is one of the underrated benefits beyond the obvious visual change. A sew-in or tape-in transformation gives you a ponytail that's actually full instead of thin and wispy, a bun that has real density, and a down-and-loose style that has the volume and movement of hair that took years to grow. Working through these different styling options in the first week after your transformation is genuinely fun — and it's also how you figure out which looks are going to become your go-tos for the duration of the wear period.
For the most natural-looking everyday styling post-transformation, I always lean into the hair's natural fall rather than fighting it. Extensions add weight and movement that your natural hair might not have had before, and letting that movement guide your styling — loose waves with minimal product, a natural part that the extensions follow, a half-up that uses the extension volume as a feature rather than hiding it — creates looks that are much more effortless and believable than heavily styled versions. The transformation works best when you style with it rather than over it.
Before you reach the FAQs, compare current Hair extensions before and after transformation options, reviews and prices side by side.
View Hair Extensions Before And After Transformation on Amazon →
As an Amazon Associate, The Swag Hair may earn from qualifying purchases.
FAQ
How long does a hair extension transformation last?
It depends on the method: clip-ins are removed daily, tape-ins last 6–10 weeks between appointments, sew-ins last 6–8 weeks, and fusion or micro-link extensions last 3–6 months. With proper maintenance, the hair itself can last much longer — it's the installation bonds that need refreshing, not necessarily the extension hair.
Will hair extensions damage my natural hair?
Done correctly, most extension methods are very low-risk for natural hair damage. The primary risks are installation that's too tight (tension damage), hair that's too heavy for your natural hair's density, and improper removal. Clip-ins carry virtually no damage risk; permanent methods carry slightly more, concentrated almost entirely at the installation points.
How do I match extension color to my natural hair?
The most reliable method is to take a small section of your natural hair to a professional supplier or use the seller's physical swatch service if available. Online color charts and monitor lighting are notoriously unreliable for this — what looks like an exact match on screen often isn't in real life. When in doubt, go slightly lighter; it's easier to add warmth or darken extensions with a toner than to lighten them.
What's the most natural-looking hair extension method?
Tape-in extensions are consistently rated the most natural-looking method for straight to wavy hair because the flat adhesive wefts lie flush against the head and are invisible even when hair is wet or in a ponytail. For curly and coily natural hair textures, a properly done sew-in with matching texture creates the most natural-looking transformation.
How much hair do I need for a full transformation?
It varies significantly by method and your natural hair's density, but as a general guide: tape-ins typically use 30–60 pieces, sew-ins use 3–5 weft bundles, and clip-ins come in sets of 6–10 wefts. Your stylist should assess your hair's specific density at a consultation to give you a precise recommendation before you purchase.
Final verdict
A hair extension before-and-after transformation is one of the most dramatic and immediate visual changes available without anything permanent — and when the method is right for the goal, the color is matched precisely, and the maintenance is taken seriously, the after genuinely looks better than what most people imagined going in. The key is approaching it with the right expectations: a transformation is not a one-time event but the start of a maintained look, and the women who get the most out of it are the ones who understand and enjoy that relationship with their hair rather than viewing the maintenance as a burden.